Whether you're a professional artist or a passionate hobbyist, having a dedicated studio space can significantly impact your creative practice. A well-designed studio doesn't just house your supplies—it can inspire, facilitate, and elevate your work. This guide will help you create a studio that meets your practical needs while nurturing your artistic vision.
Finding the Right Space
The first step in creating your perfect studio is identifying the right location. While some artists have the luxury of a dedicated room or outbuilding, many work with more limited options. Here are considerations for various situations:
Dedicated Room
If you have a spare room available, this is often ideal. Consider rooms with good natural light (north-facing windows in the Northern Hemisphere are preferred for their consistent, indirect light). Basements can work but require extra consideration for lighting and ventilation.
Shared Space
If you're working within a multipurpose space like a living room or bedroom, look for a corner or area that can be consistently dedicated to your art. Room dividers, folding screens, or even a strategically placed bookshelf can help define your creative zone.
Outdoor or Garage Spaces
Garages, sheds, or covered patios can make excellent studios, particularly for work involving dust, fumes, or large-scale projects. Consider insulation, heating/cooling, and security needs if converting these spaces.
Regardless of your space type, prioritize these factors:
- Adequate space for your medium and scale of work
- Good ventilation, especially for media involving solvents or dust
- Proximity to water if needed
- Sufficient electrical outlets
- Privacy and minimal interruptions during work sessions
Different studio layout options for various space constraints. The zoned approach (right) works well for shared spaces.
Optimizing Lighting
Lighting might be the single most important element of your studio setup. Poor lighting can lead to eye strain, color inaccuracies, and diminished work quality.
Natural Light
Natural light provides the most accurate color rendering and creates a pleasant working environment. North-facing windows (or south-facing in the Southern Hemisphere) provide consistent, indirect light without harsh shadows or glare. If possible, position your primary work area to take advantage of this light.
Consider window treatments that allow you to control light levels—unfiltered bright sunlight can cause glare and make it difficult to accurately perceive colors.
Artificial Lighting
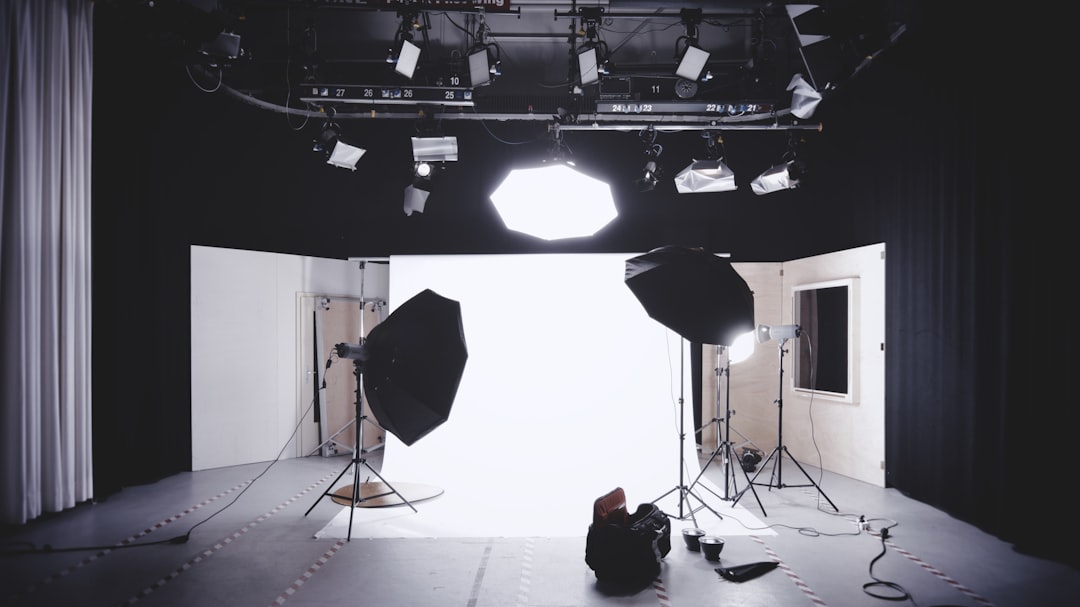
Even with good natural light, you'll need supplementary lighting for evening work or cloudy days. A well-designed lighting system includes:
- Ambient lighting: Overall room illumination, ideally with a high CRI (Color Rendering Index) of 90+
- Task lighting: Directed light for your specific work area, such as adjustable desk lamps or clamp lights
- Accent lighting: For illuminating reference materials or completed works
When selecting bulbs, aim for "daylight" spectrum (5000-6500K) LED or fluorescent lights with high CRI values. These provide the most accurate color representation. Avoid mixing different color temperatures in the same work area.
Furniture and Equipment
The furniture in your studio should support your specific artistic practice. Consider these essentials:
Work Surface
Depending on your medium, you might need:
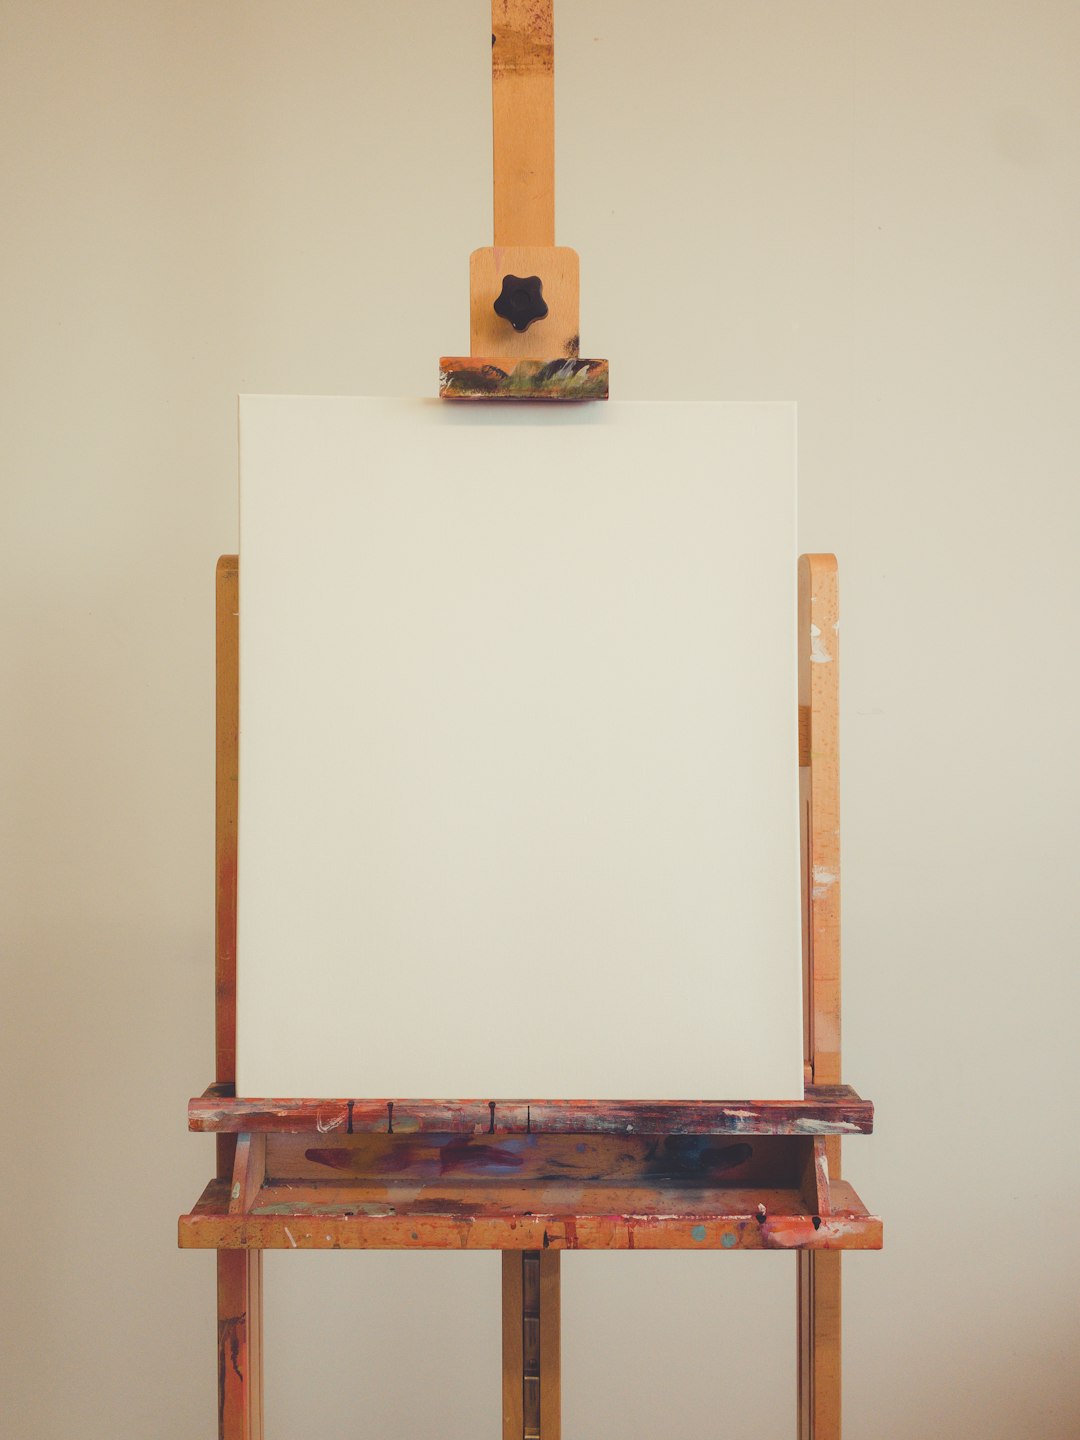
- An adjustable easel for painting
- A drafting table for drawing or technical work
- A sturdy flat table for mixed media or assembly
- A print table for printmaking
Consider height, stability, and surface area. Many artists benefit from having multiple work surfaces at different heights for various tasks. An adjustable-height table or desk can be versatile for different types of work.
Seating
Your choice of seating should support long work sessions without discomfort. Options include:
- Adjustable artist stools with good back support
- Ergonomic office chairs for desk work
- Standing mats for those who prefer to stand while working
Consider alternating between sitting and standing throughout your work sessions to reduce strain.
Storage Solutions
Effective storage keeps supplies accessible while minimizing clutter. Popular options include:
- Open shelving for frequently used items
- Drawer units for smaller supplies
- Vertical storage for canvases, paper, and flat materials
- Rolling carts that can be moved where needed
- Wall-mounted systems for tools and materials
Consider transparent containers for small items so you can easily see what's inside without labels.
Effective storage solutions help keep materials organized and accessible while maintaining a clear workspace.
Organization Strategies
A well-organized studio improves workflow and creative output. Consider these organizational approaches:
Workflow Zones
Divide your studio into functional zones based on your process:
- Preparation area: For preparing materials, stretching canvases, etc.
- Creation area: Your primary workspace for making art
- Drying/storage area: For works in progress
- Cleaning zone: Near a water source for washing tools
- Documentation zone: For photographing completed work
Supply Organization
Organize materials based on frequency of use:
- Keep frequently used supplies within arm's reach of your primary work area
- Store similar items together (all brushes in one place, all paints in another)
- Consider color-coding or labeling systems for easy identification
- Rotate seasonal or less-used materials to deeper storage
Digital Organization
Don't neglect digital aspects of your practice:
- Set up a system for cataloging and backing up photos of your work
- Create folders for reference images, inspiration, and project documents
- Consider digital tools for inventory management if you sell your work
Creating an Inspiring Environment
Beyond functionality, your studio should nurture your creative spirit. Consider these elements:
Visual Inspiration
Surround yourself with sources of inspiration:
- A dedicated inspiration board or wall for changing images and ideas
- Books and art magazines within easy reach
- Space to display your own completed works or those of artists you admire
Comfort Elements
Small touches that make long sessions more pleasant:
- Plants to improve air quality and add life to the space
- A quality speaker system for music or podcasts
- Comfortable temperature control
- A small refrigerator or coffee station for refreshments
Personalization
Make the space uniquely yours with:
- Color choices that energize or calm you as needed
- Meaningful objects that hold significance to your practice
- Flexible elements that can change as your mood or projects evolve
Health and Safety Considerations
Creating art often involves materials that require safety precautions:
Ventilation
Proper air circulation is essential when working with solvents, aerosols, or dust-producing materials:
- Consider window fans, exhaust systems, or air purifiers
- Position your workspace near windows that can open
- Use local exhaust options like spray booths for toxic materials
Safe Material Handling
Protect yourself with:
- Appropriate gloves for handling chemicals or irritating materials
- Respirators or masks when working with dust or fumes
- Proper disposal containers for chemical waste
- Eye protection when necessary
Ergonomics
Prevent strain and injury:
- Position work at a comfortable height to avoid hunching
- Ensure good posture with appropriate seating
- Take regular breaks and stretch
- Consider anti-fatigue mats if standing for long periods
Studios on a Budget
Creating an effective studio doesn't have to be expensive:
- Repurpose existing furniture—dining tables can become work surfaces, bookshelves can store supplies
- Check secondhand sources for easels, drafting tables, and storage units
- Use simple track lighting or clamp lights instead of expensive fixtures
- Build simple storage solutions with inexpensive materials
- Start with essentials and add as your practice develops
Adapting to Changing Needs
Your studio should evolve with your practice:
- Choose modular furniture that can be reconfigured as needed
- Periodically reassess your workflow and make adjustments
- Consider seasonal changes—you might need different setups for summer versus winter
- Allow space for growth in your practice and medium exploration
Conclusion
Your studio is more than just a room—it's a partner in your creative journey. By thoughtfully designing this space to support your specific needs, you create an environment where your artistic vision can flourish. Remember that the "perfect" studio is one that works for you, reflects your process, and inspires you to create.
Even with limited space or budget, focusing on the key elements of light, functionality, organization, and personalization will help you create a studio that enhances your artistic practice. Start with the essentials, adapt as you learn what works best for your process, and let your studio grow alongside your creative journey.